
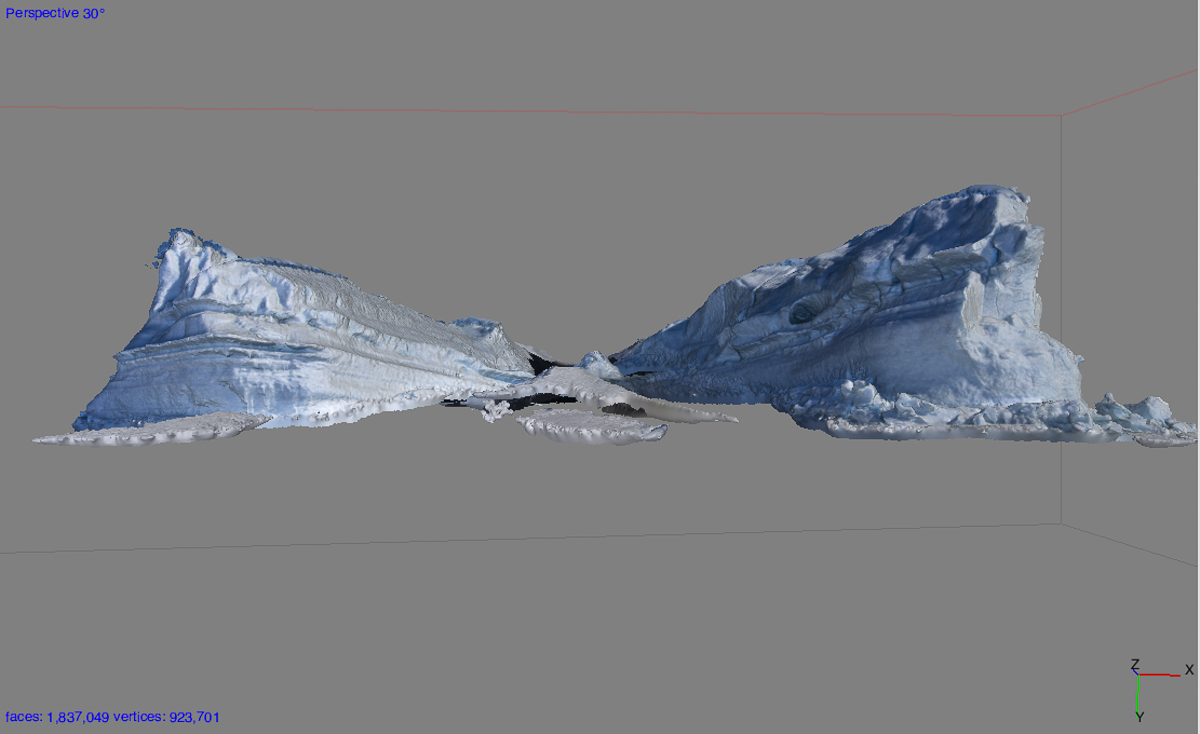
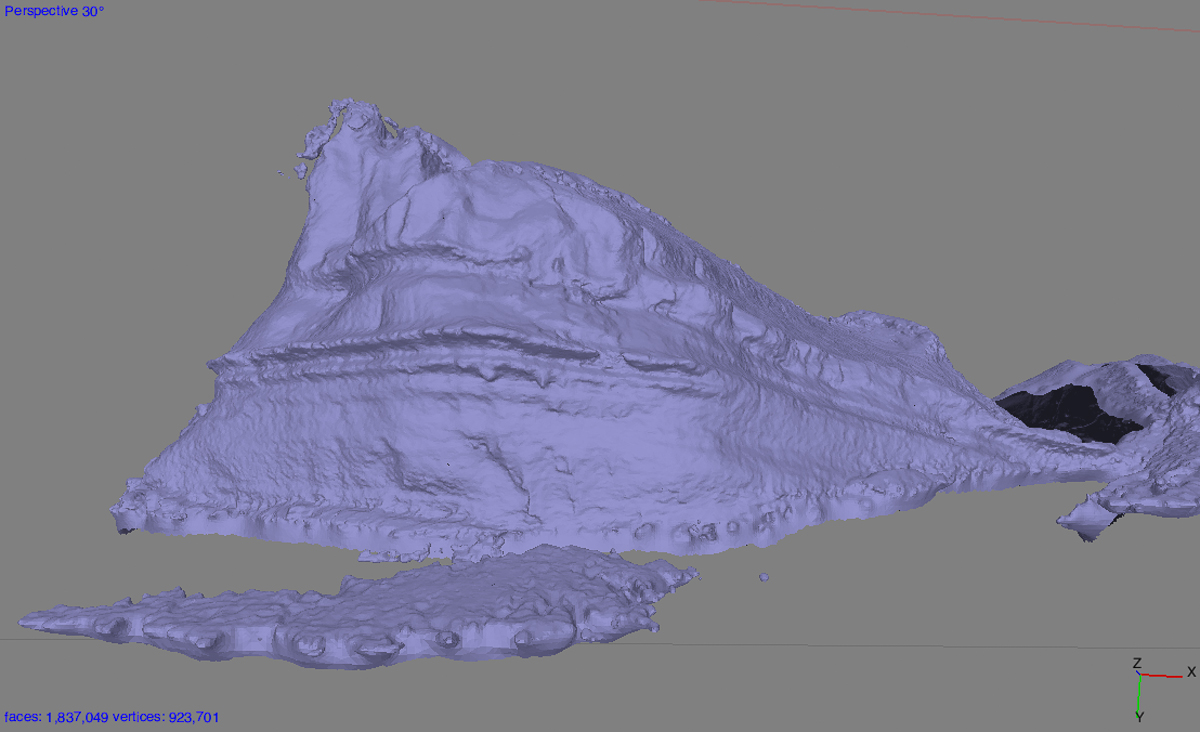
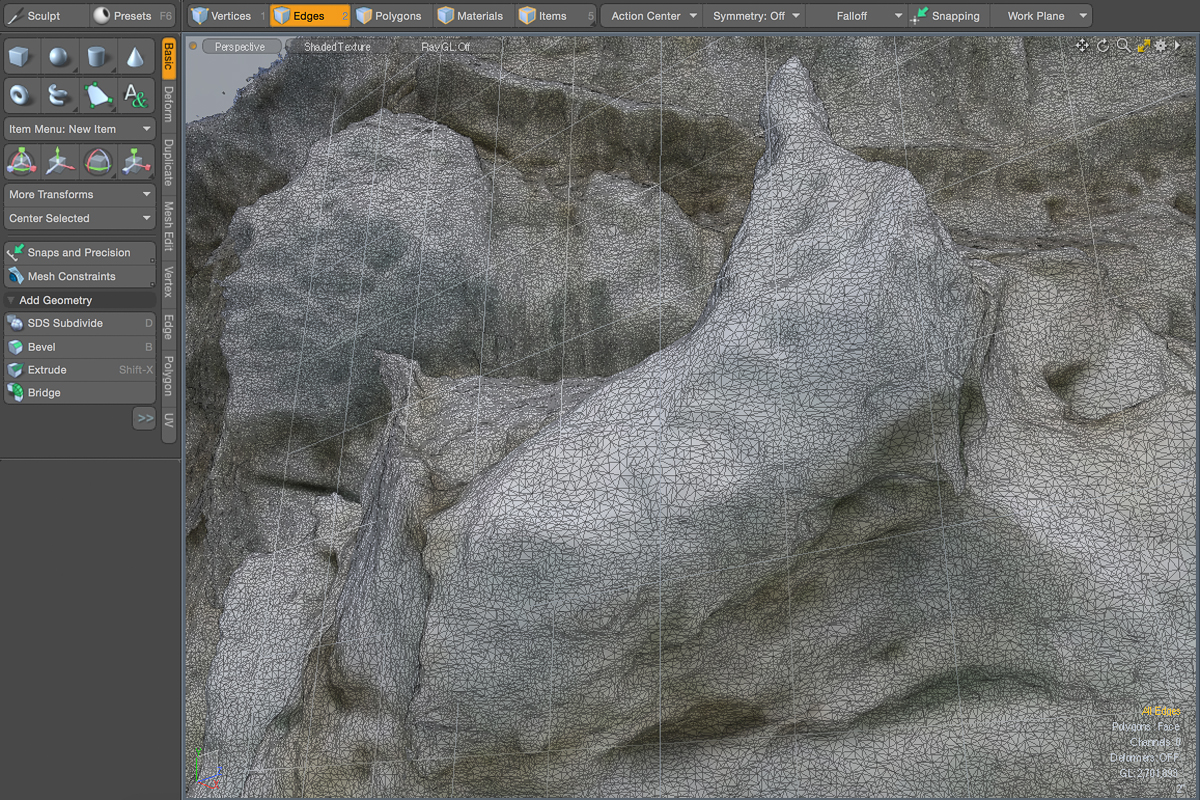
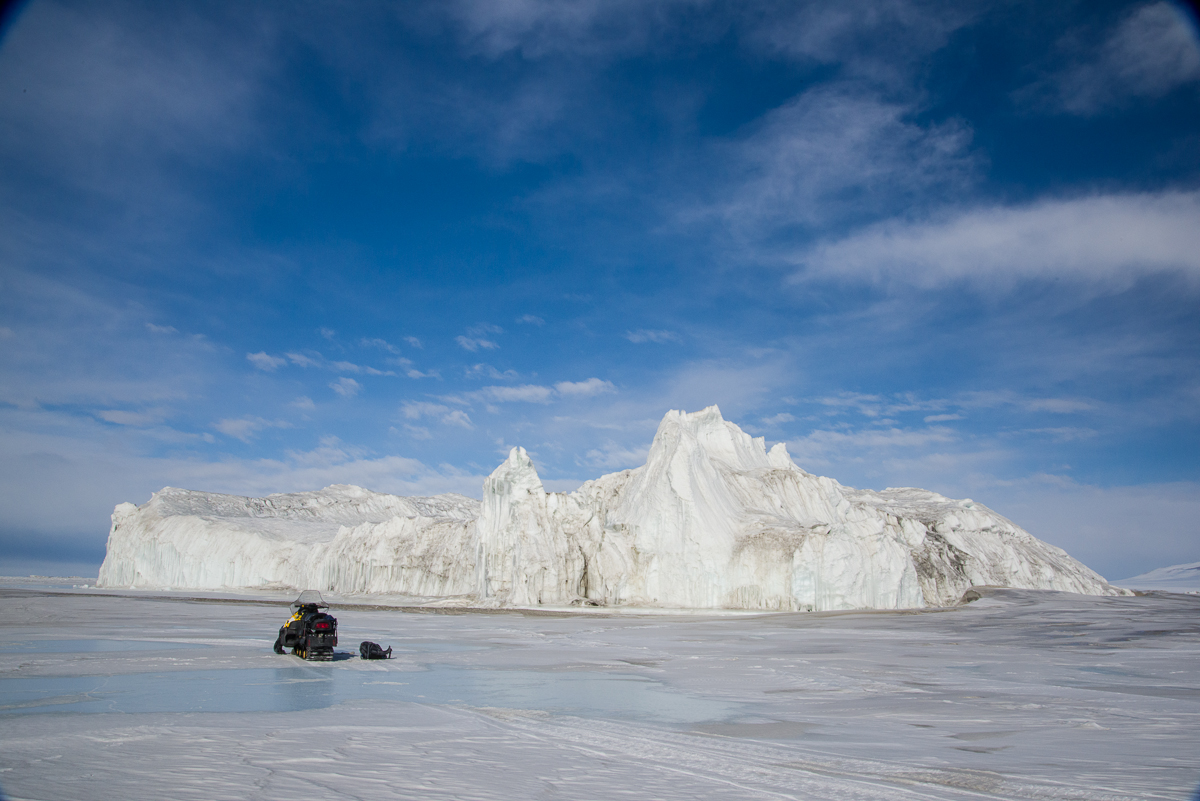
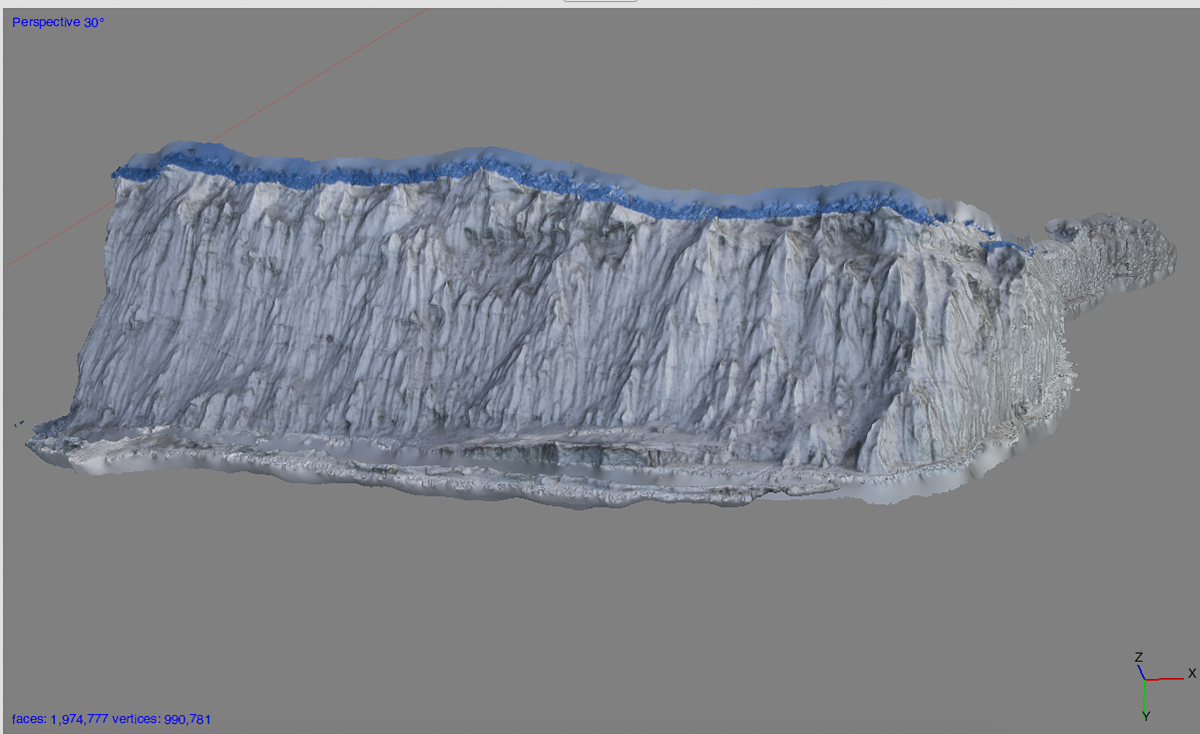
Part of my project here involves capturing forms in 3D. There have been plenty of photographs taken in Antarctica, within and outside the Antarctic Artists and Writers Program, but relatively little sculpture, and the sculpture that has been done has been more inspired by the landscape than an attempt to capture the specifics of the marvelous forms and textures produced by the interaction of wind and water in this unusual environment. My method for doing so involves taking a series of overlapping still photos of an object or scene from different angles and processing them with photogrammetry software into a 3D file. I edit that file in 3D design software and then fabricate it as a sculpture generally using a CNC router at Fab Lab Baltimore, though they can also be 3D printed. The three photos above show stages in processing my most ambitious capture thus far completed: 162 photos of a large iceberg stuck in the sea ice near Inaccessible Island in McMurdo Sound that I shot on December 1st. I blogged about that day in an earlier post — Evan and I went out there in a Haagland tractor and this iceberg was our first stop. There’s no way it would be possible to make a 3D capture like this with an iceberg floating in the water. Also when you’re in a zodiac boat near a floating iceberg, you have to keep your distance because it can flip without notice, causing dangerous waves. This photo gives you an idea of the scale:

Up until recently I used Autodesk 123D Catch to create the 3D files, which is very good free software. Right before leaving for Antarctica, I purchased Agisoft PhotoScan Standard, which can handle larger files, and, I hoped, the larger number of images and greater detail I intended to throw at it with my Antarctic images.
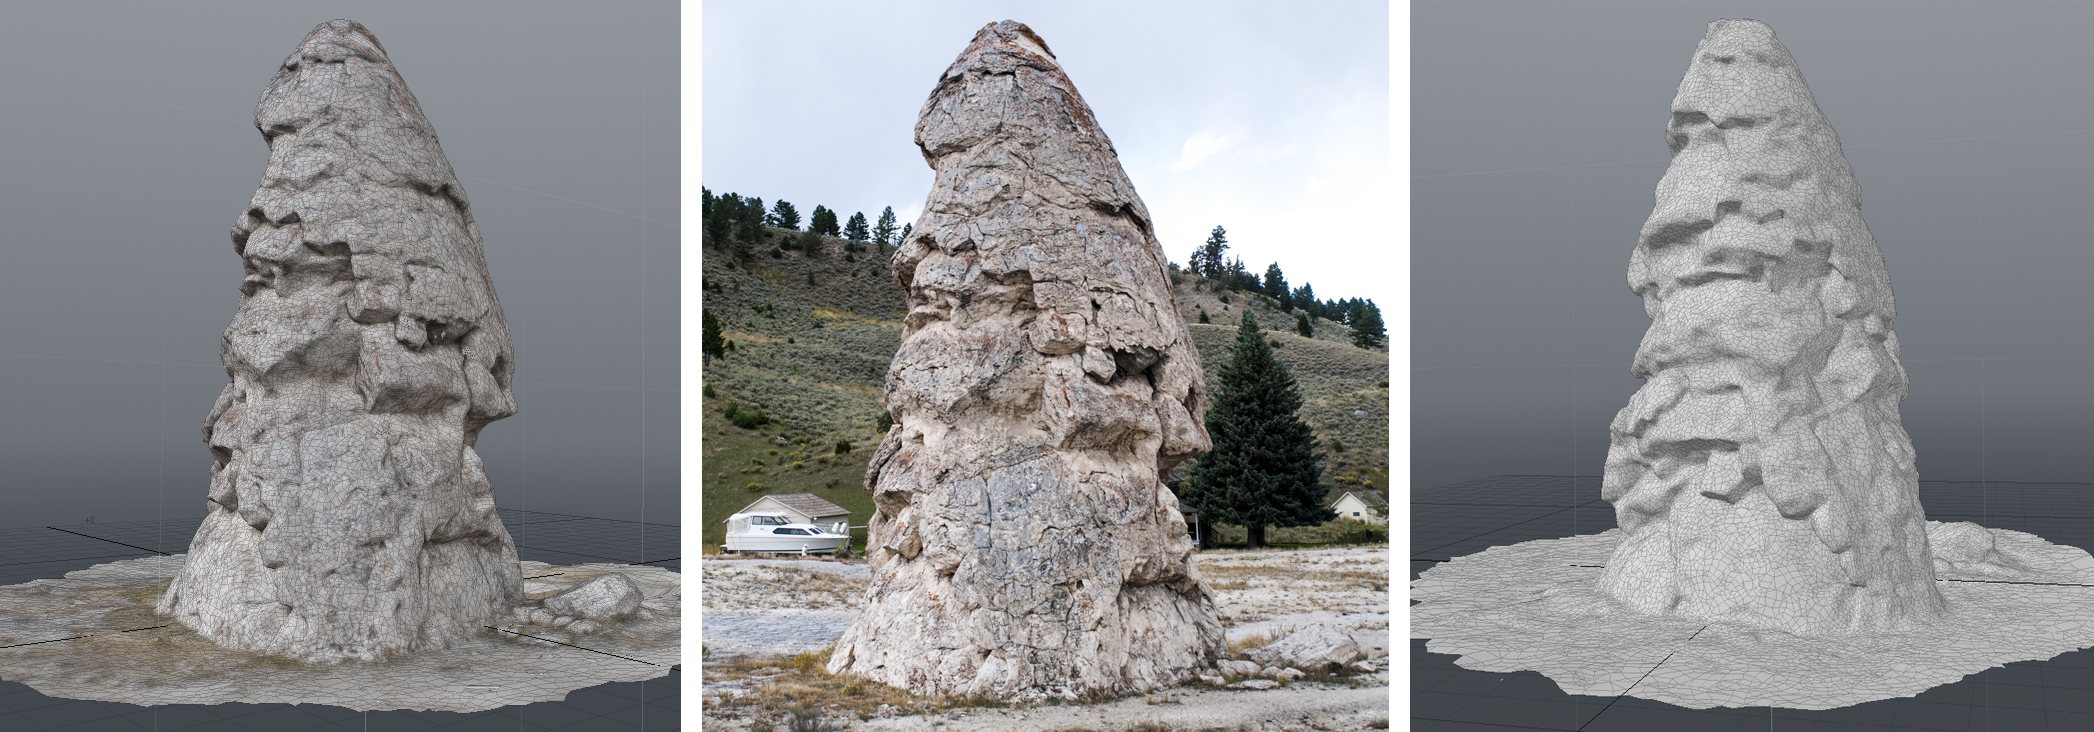
Turns out PhotoScan is up to the task, although it takes several hours of cranking away in the background for the 3D captures to process. That’s why I haven’t processed that many yet. But I wanted to try a few to make sure it would work. Up until now, the largest natural object I’ve made a capture of is the Liberty Cap, a rock formation called a hot spring cone in Yellowstone National Park that’s 37 feet high. I made that file with 123D Catch and it came out so well I was reasonably confident that the formations would, too.
I started with this pressure ridge by the Double Curtain Glacier, which I also talked about in an earlier post. It wasn’t a huge number of photos, but extraordinarily complex. I was excited to get this result:
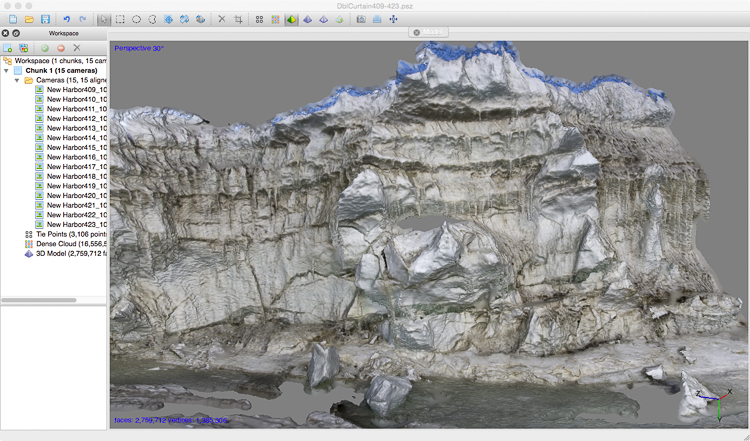
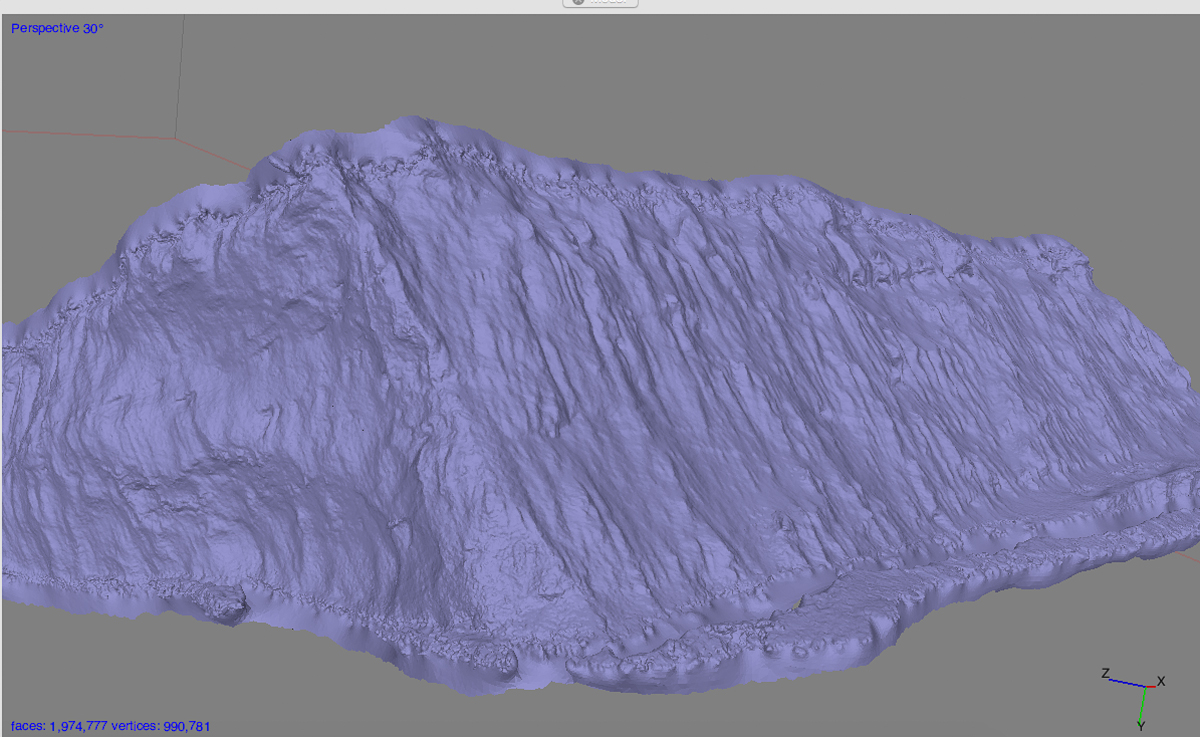
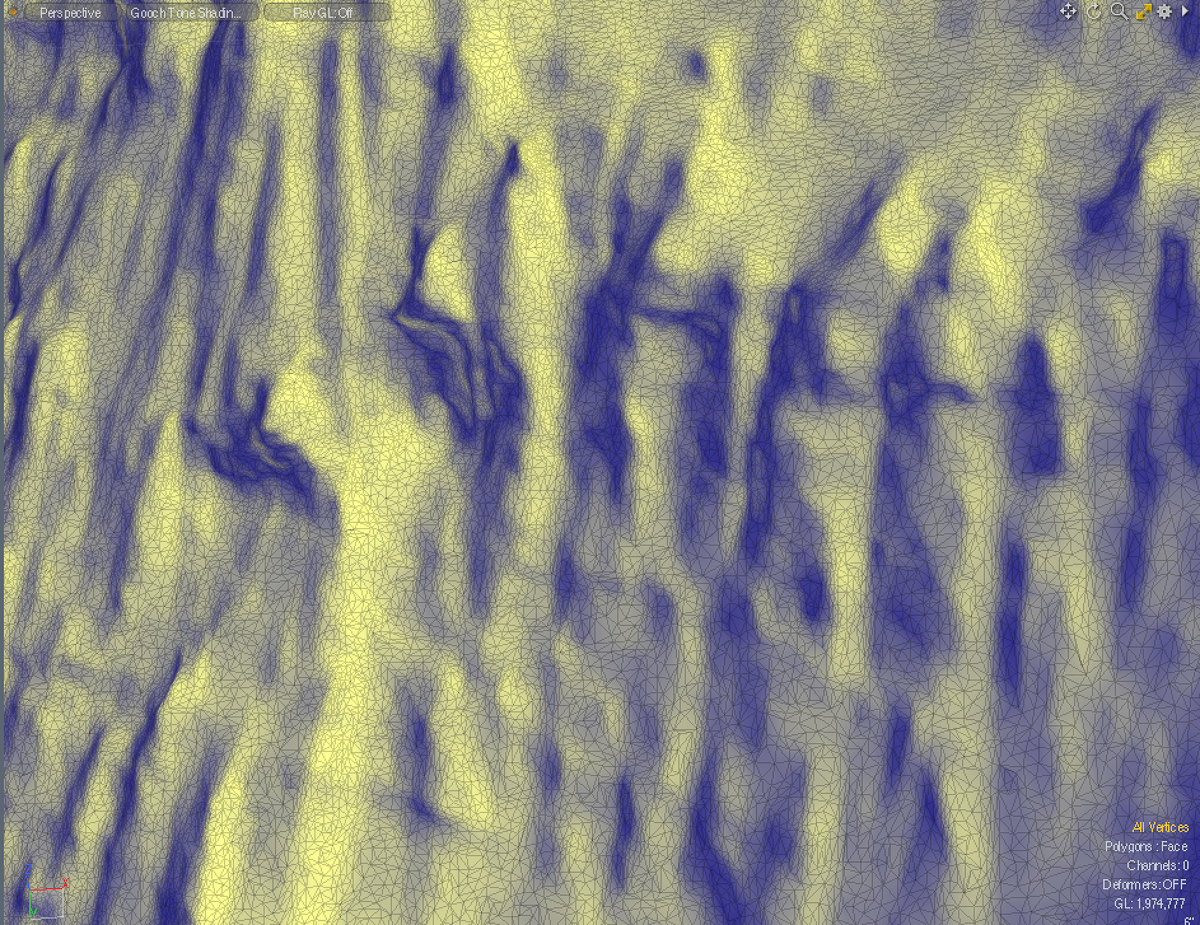
Before tackling the iceberg at the top of this post, I tried processing a portion of an enormous iceberg stuck in the sea ice that Laura Von Rosk and I traveled by snowmobile to see. I wasn’t sure if anything that large could be processed, so although I spent a half hour taking about 170 photos of it from every angle, I only processed 44 of the photos of one side and a bit of its adjacent sides. Here are some screenshots from that experiment. Check out the amazing detail captured from this huge object:
I have many captures ready to process as 3D files, including the Scott Base pressure ridge, the Canada Glacier, Blood Falls, ventifacts, even a penguin subcolony (we’ll see if the penguins moved around too much to process). I’ll share them on this blog as I complete them, though it will be some time before I get to them all because it takes a few to several hours for PhotoScan to go through its paces. But I’m positive I’ll be bringing back many pieces of 3D Antarctica from this trip.